After the initial inspiration to create a tiny forest, the next obvious question was how?
The Research Stage
Research was needed to find out the best way to approach this. Most of the ‘how to’ YouTube videos on the subject (there are many) were starting a project from scratch: the best way to get a tiny forest to grow quickly involves preparing the soil to ensure there are plenty of nutrients so that the tint trees get of to a healthy start. But this situation was different.
Preserving Nesting Sites
This is an established old garden that had many mature, dense shrubs which, even though they weren’t native species and provided little by way of nutrition for wildlife, provided vital nesting sites for garden birds (especially blackbirds who returned every year to the same bush) and also provided shelter from weather, cats, and sparrowhawks!
The mission became how to improve the habitat for wildlife without losing the existing protection that the mature shrubs offered.
A Gradual Transition
While it was tempting to clear the space completely and rapidly grow a tiny forest, this would not only have meant destroying the existing dense cover, but also would have destroyed hundreds of native bluebell bulbs that were peacefully sleeping ready to emerge next spring.
It was decided that even though the tiny forest would grow more slowly, it would be better to preserve what already existed, and build on it.
This meant a slow process of identifying and removing non-native species, and replacing them with native ones.
The Flowering Gap
There wasn’t much by way of year-round blossom to provide nectar for bees, butterflies and other pollinators. There was an apple tree and lilac tree that blossomed in spring and then two stray buddleias that had acquired a stronghold in two corners of the garden, that kept the butterflies happy briefly in late summer, but are a non-native invasive species that has it’s own problems (more on that later).
In planning the tiny forest, it was important to reintroduce native species, and consider what would provide food and shelter all year round.
Making Space
After much planning the work began. An old flower border, making up a two meter square section, contained two old woody cotoneaster shrubs that were non native and flanked on either side by an old (native) dog rose and a stray (non-native) buddleia.
Leaving the buddleia and dog rose for now (happy butterflies), and leaving other shrubs undisturbed where the blackbirds were nesting, it wad decided to remove the cotoneaster first to make space for new native trees and shrubs. This would be the location of the tiny forest.
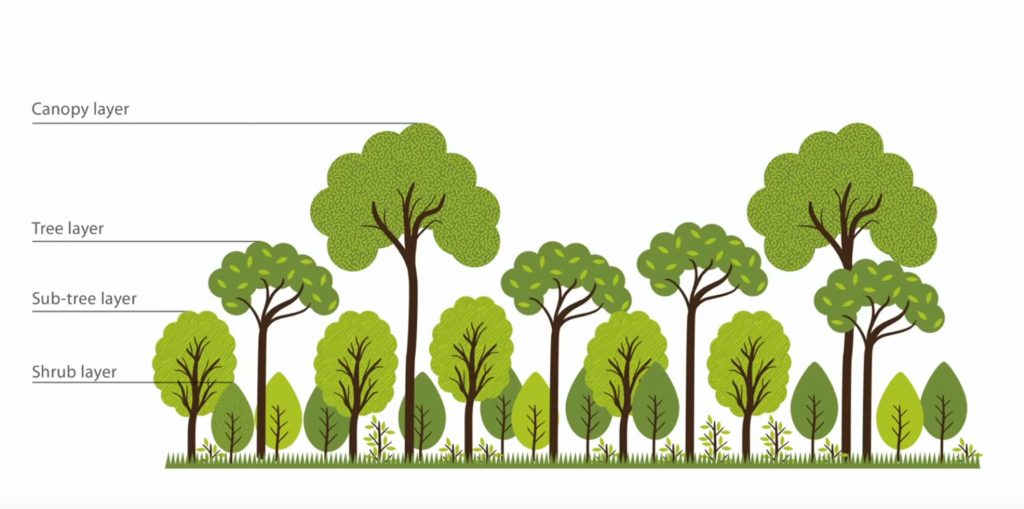
A Wildlife Hedge
Given the proximity to neighbour’s gardens it was decided a full height forest might cause problems, but a wildlife hedge could still be achieved by planting native trees and shrubs and keeping them cut to the height of a hedgerow.
The Planting List!
Taking into account native species, flowering time, and overall value in terms of providing food and shelter for birds, bees, butterflies and other wild life, the final planting list was decided on!
The tiny forest aka wildlife hedge would include some pre-existing native plants: bluebells, primroses, dog rose, nettles and brambles; in addition 22 more shrubs and trees were planted including: holly, ivy, hawthorn, elder, hazel, goat willow, silver birch, foxgloves and ferns.
In another part of the garden honeysuckle, lavender and a native clematis were planted to increase support for pollinators.
The “Tiny Forest Project” had begun!
Leave a Reply